How to fix MacBook Pro audio crackling
311.3K views
15 min read
It can be one of the most annoying things to hear — speakers popping and crackling on your Mac while you’re watching a movie or listening to a new album you were waiting for.
Stuttering audio is a problem that was persistent in Macs around the launch of OS X 10.9 Mavericks in late 2013. Now Apple Community forums are still filled with questions: “why are my speakers crackling?” Users share stories about their MacBook making crackling noise, as well as having poor audio quality, when using specific apps.
Most of the time these issues are easy to fix and won’t require the help of a professional, but it’s crucial to identify the cause of the problem correctly.
Let’s take a closer look at the types of issues that can cause MacBook Pro speakers crackling and ways to restore great sound on your Mac easily.
Why are my MacBook speakers crackling?
Analyzing the audio problems on your Mac and determining its root might be the most laborious part of the whole process. Once you know the cause — it becomes clear how to fix speakers popping, buzzing, and crackling.
All speaker-related issues can be classified as originating in the hardware or software of your Mac.
- Hardware-related issues usually occur because of a partial tear in the speaker’s diaphragm, or what we call a “blown speaker.” There are ways to fix this problem temporarily, but the only long-term solution would be replacing the faulty speaker altogether, which can cost around $300-600.
- Software-related issues are often caused by either firmware, macOS,or other app-specific bugs. The good news is that you should be able to fix these problems yourself! However, unlike hardware issues that often revolve around a single problem, causes of a software-related issue can be more difficult to uncover.
A clear indicator of a software-related issue is if you hear MacBook Pro sound crackling randomly, or when you are using one specific app. If you’ve ever experienced that frustration, read on for a few effective methods of troubleshooting and fixing laptop speakers crackling.
Fix MacBook Pro speakers crackling and buzzing
Maybe the latest macOS update broke the audio service, perhaps the wrong audio settings are to blame, or what if the app you’re using is just not compatible with your Mac’s software?
There are a few tried and tested actions you can take immediately that will quickly solve your MacBook Pro speakers crackling issues:
- Restart your Mac. It’s a simple method that solves a lot of problems better than magic. Choose Restart from the Apple Menu, wait for your Mac to boot up again and check if the audio issues have been resolved.
- Update macOS to the latest version. Apple is quick to fix the majority of software-related issues and, chances are, the new macOS version is free of the bugs you’re experiencing. Go to the Apple menu and click on System Preferences ➙ Software Update. Here you’ll see if any updates are available for your Mac.
- Prevent system overload. It’s not uncommon to hear a MacBook making crackling noise when it’s performing multiple processor-intensive tasks and playing audio simultaneously. Open Activity Monitor to check whether your Mac’s CPU is being overloaded. Choose Window ➙ CPU Usage, and perform the task that causes MacBook speaker crackling with the CPU widget open.
- Turn off user interface sound effects. Maybe all you need is a simple fix like that. Open System Preferences and select Sound. There you can uncheck “Play user interface sound effects” in the Sound Effects tab.
- Change the sample rate of your audio device. This is another straightforward way to resolve audio issues. Open the Audio MIDI Setup app and select MacBook Pro Speakers. From there you can change the format to 44kHz or 48kHz and check whether the issues have been fixed.

How to fix MacBook speaker crackling in a specific app
Not all sound problems are related to macOS — some issues are app-specific. If you have noticed that laptop speakers crackling issue is isolated to one app or process, it may mean that particular software isn’t compatible with your current macOS version. The easiest solution here would be to try using a different application — some will even boost sound quality on your Mac in addition to solving audio problems.
If you thought you needed lots of expensive equipment to create a surround sound experience within your home — you probably just haven’t heard of Boom 3D. Until now, that is. Its Audio Boost feature amplifies sound without compromising quality and adding distortions. Boom 3D gives you precise control over your listening experience with optional remote management and an extensive palette of audio presets. This app is a sound booster any Mac would be lucky to have.

Another app that improves media consumption experience is Elmedia Player. It’s a video genie that will help adjust any video to your liking, while allowing you to multitask with its picture-in-picture mode. Apart from numerous customization options and its ability to support virtually all file formats, this app wins our best feature prize for the capacity to open and play YouTube videos without ads!

Music is a meaningful aspect of our life, taking us through personal highs and lows. Whether you are a professional DJ or simply a big music fan, it's essential to organize and manage expanding music collections, and Meta does just that. Keep your tracks up to date with Meta’s Find & Replace feature. The app also offers extensive ability to tag, number, search, and edit music in an easy and consistent way.

Converting music to a different format can also improve sound on your Mac. Permute is a quick audio, image, and video converter, which handles all file formats and can turn one into another in a matter of a few clicks. Not mentioning the trivial file format conversions, Permute is an app that can turn video into audio and vice versa.

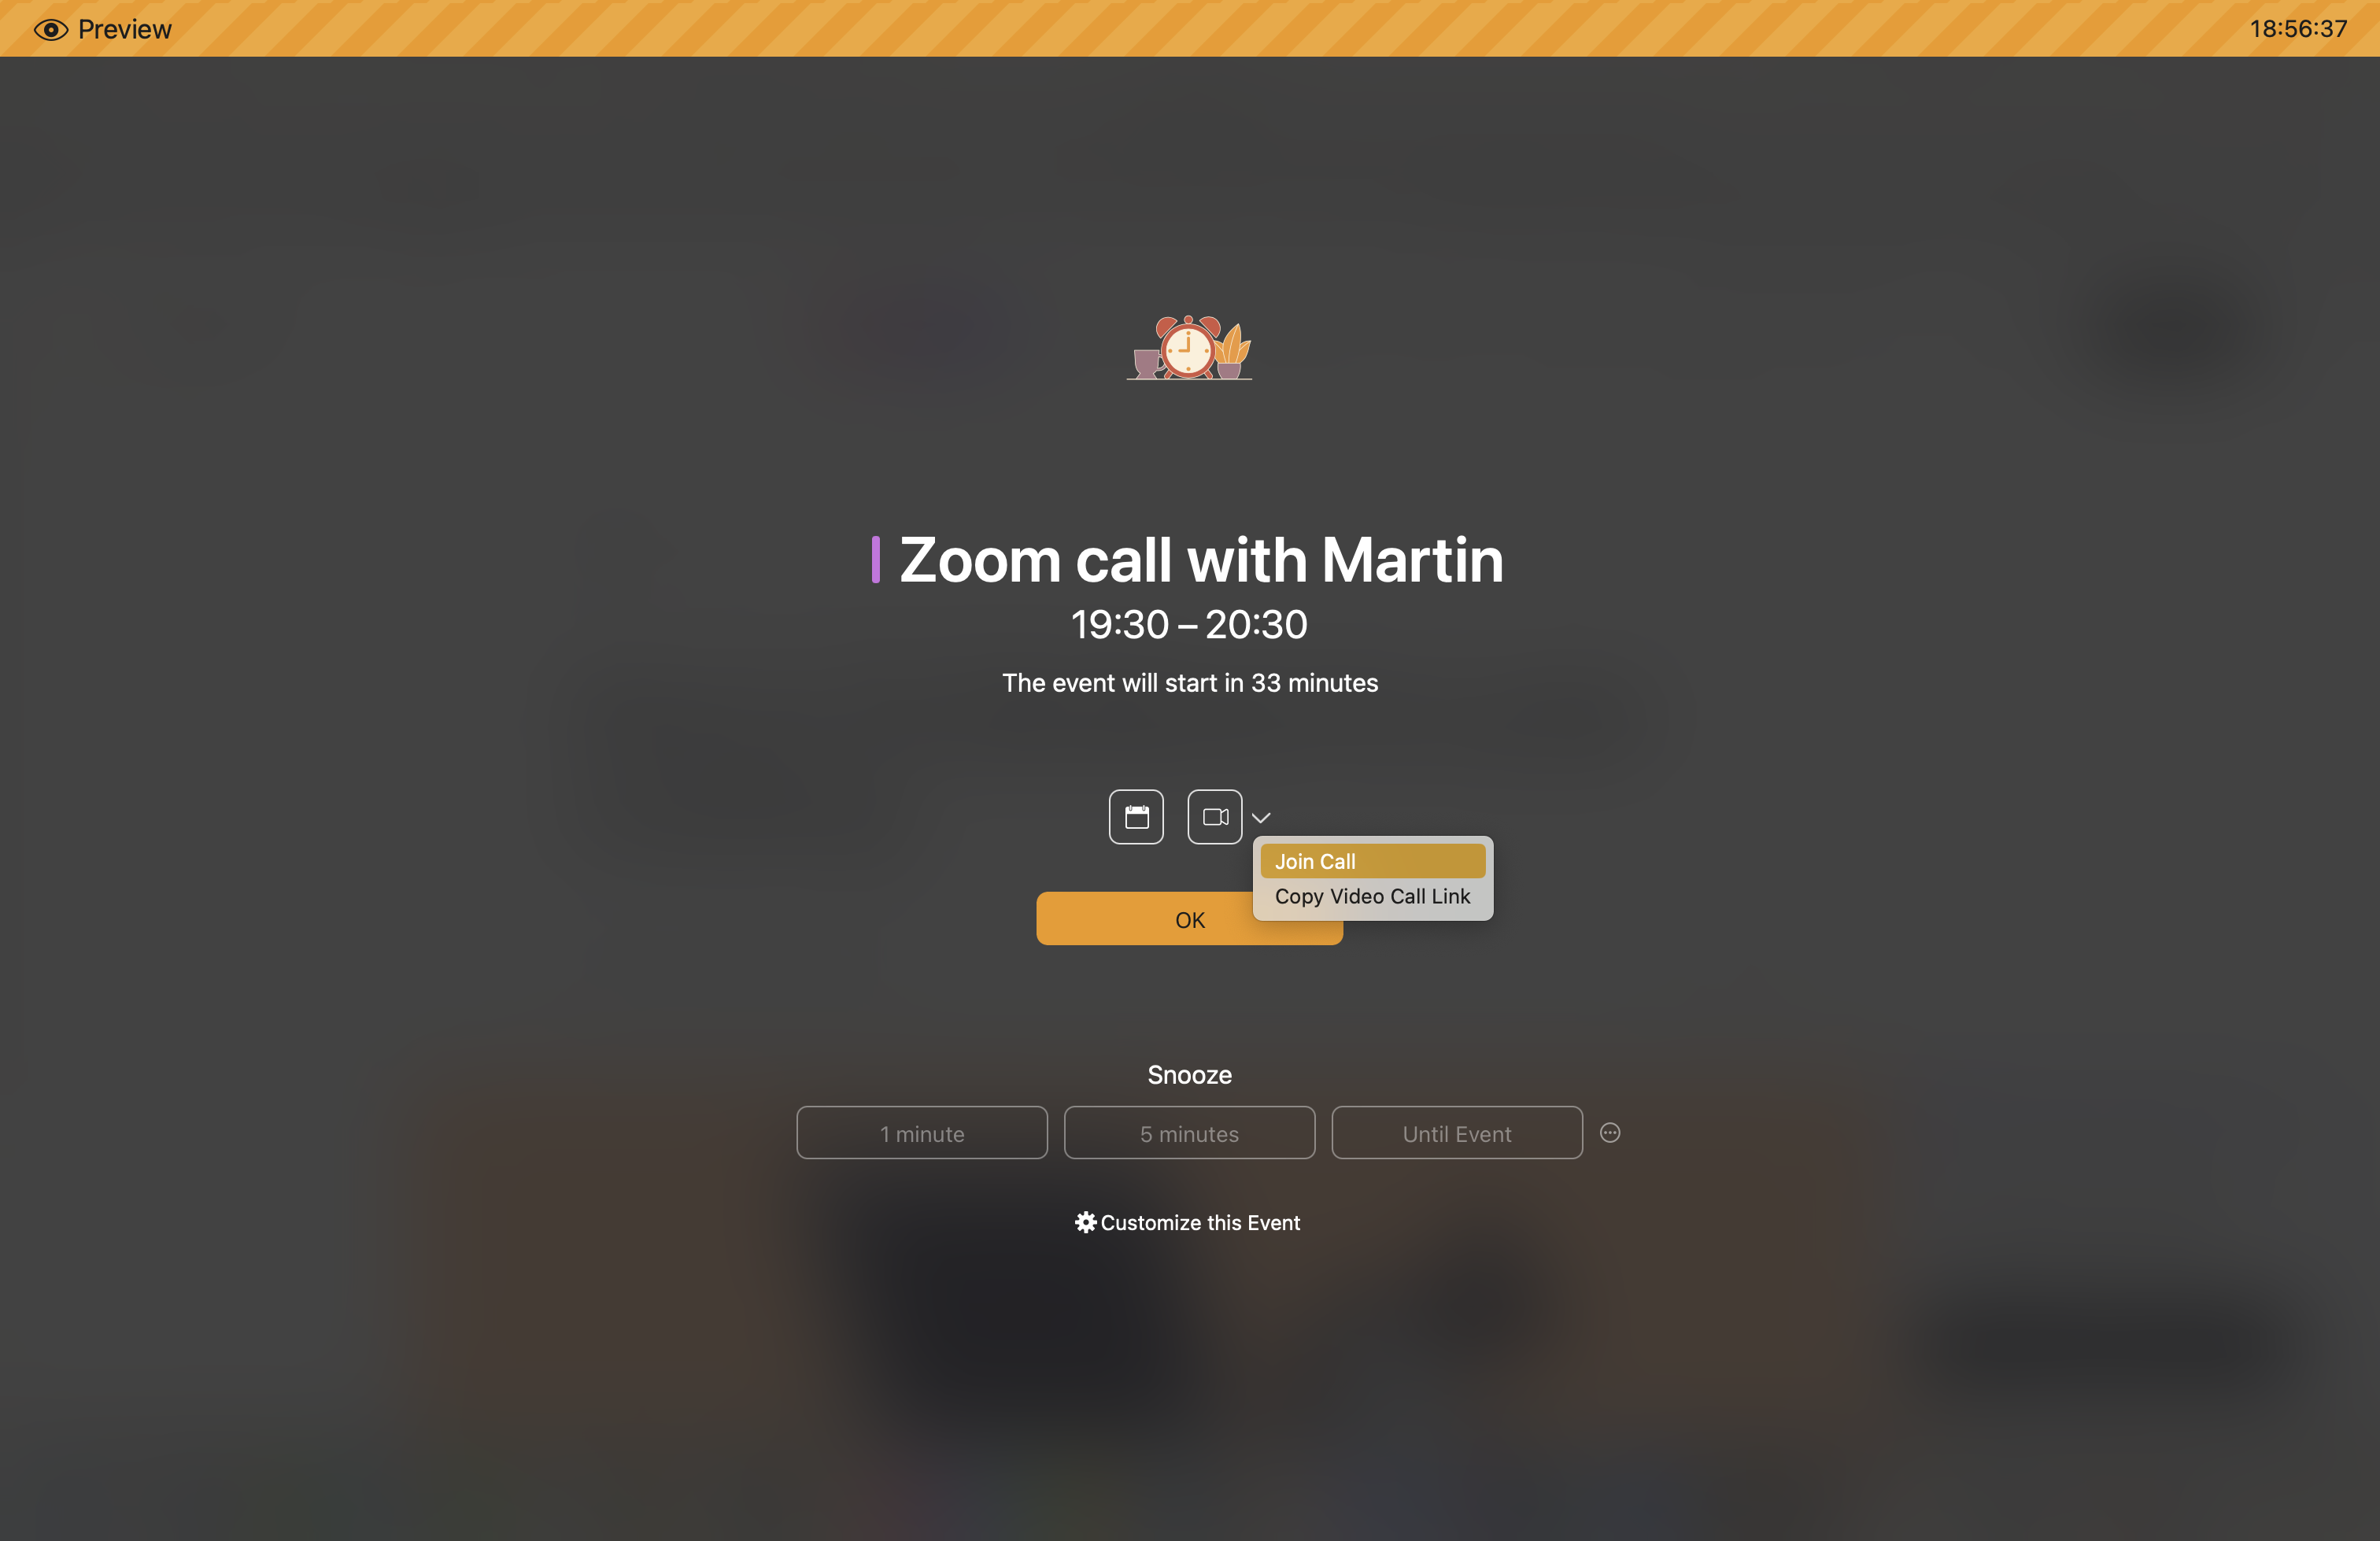
For audio problems that may arise during a video-call, try In Your Face as an alternative way to connect to Zoom, Hangouts, or FaceTime. This app functions a bit like your personal assistant, pulling all links and meeting information into one handy schedule.
IM+ does the same with all your social media messaging accounts and beyond, letting you move between conversations and across platforms with ease.

Ways to repair MacBook making crackling noise
If none of the previous suggestions were successful in fixing your MacBook Pro sound crackling, you can go a bit deeper into your Mac’s system to try and solve the audio problem.
Check sound preferences
No audio coming from your Mac? The first thing to do would be to check sound preferences on macOS.

If this turns out to be the problem, it takes just four easy steps to fix:
- Go to System Preferences ➙ Sound
- Check the volume slider at the bottom and uncheck the Mute box if necessary
- Click on the Output tab to take a look where your audio is being routed
- Select Internal Speakers if another device is selected
If you don’t see any output devices at all, you might have encountered a problem when updating or upgrading macOS. Try resetting the NVRAM to solve this issue.
Reset NVRAM to fix laptop speakers crackling
NVRAM stands for Non-Volatile Access Memory, which Macs use to store specific settings like sound volume, screen resolution, startup disk selection, time zone, and more. Since NVRAM is responsible for preserving sound preferences, resetting its memory may help solve sound issues.
For the most reliable method to reset the NVRAM on your Mac:
- Shut down your Mac
- Hit the Power button
- Press and hold ⌘, Option, P, and R keys together for 20 seconds
Your NVRAM should be reset. Now you might need to set the date, time, and a few other macOS settings.
Kill Core Audio to restore sound on your Mac
The main role of the Core Audio service is to process and handle all audio on your Mac, including recording, editing, playback, compression and decompression, signal processing, and audio systems. Force closing this service may help fix MacBook Pro audio crackling.
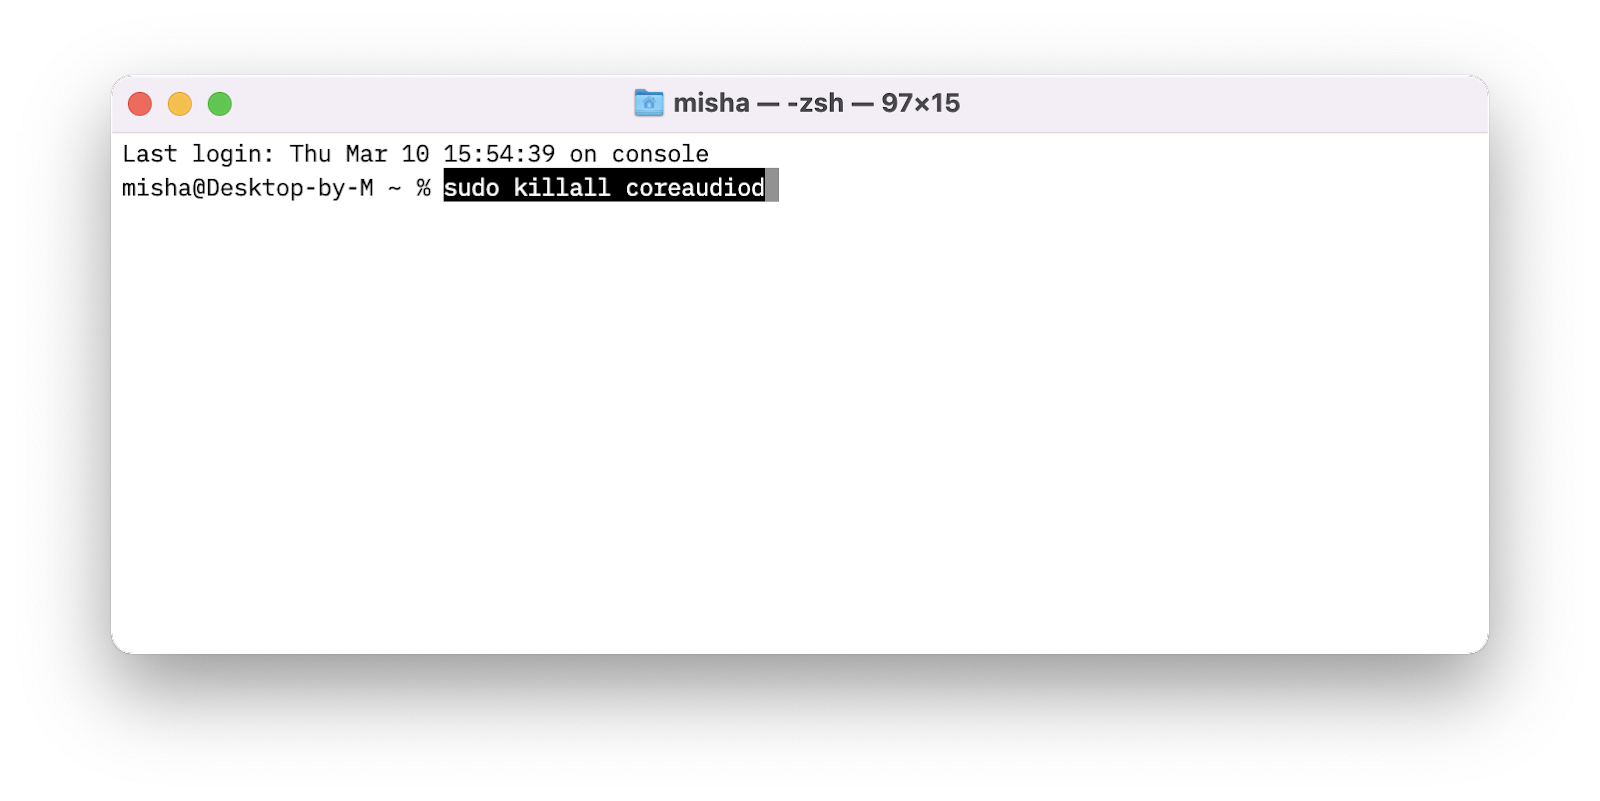
The best way to kill Core Audio is by running a Terminal command. Note that you will need admin privileges in order for these steps to work.
- Go to Applications ➙ Utilities
- Launch Terminal
- Enter the following: sudo killall coreaudiod
- Enter your user password to authorize the command
When you quit the coreaudiod process, it should restart automatically, and the sound should start working again.
If you have no audio at all, or if no audio is coming from your speakers after running the previous command, you might need to manually restart Core Audio. To do that, enter the following Terminal command:
sudo launchctl stop com.apple.coreaudiod && sudo launchctl start com.apple.audio.coreaudiod
Keep in mind, running this command will interrupt any processes that rely on audio, like listening to music, recording voice memos or chatting over FaceTime or Skype.
Restart Mac in Safe Mode
Different from the common and simple overall restart, Safe Mode allows your Mac to perform certain checks and prevents some non-essential software from automatically loading or opening.
To restart an Apple M1 Mac in Safe Mode, follow these steps:
- Shut down your Mac, then boot up the machine
- Hold down the Power button until you see startup options on the screen
- Select your startup disk
- Hold the Shift key and click the Continue in Safe Mode option
- Log into your Mac and check if the speakers still make that crackling noise
- Restart your Mac normally if the audio sounds fine in Safe Mode
How to run Apple Diagnostics on any Mac
In case you've tried fixing software-related sound issues, but speakers popping persists, you may realize your MacBook speaker crackling problem is hardware-related.
Apple Diagnostics, formerly known as Apple Hardware Test, can help detect what hardware components are causing the problem, as well as identify system failures.
Prior to running the test, Apple recommends getting a copy of their support instructions in front of you, shutting down your Mac, and disconnecting all the peripherals. Now you and your Mac are ready to enter Diagnostics Mode.
How to run diagnostics on Apple M1 Macs
- Start up your Mac
- Hold the power button as your Mac turns on
- Release the power button when the startup options window appears
- Press ⌘ + D to start Diagnostics
- Wait for the Diagnostics process to complete and present you with a list of problems, if encountered
How to enter Diagnostics Mode on Intel Macs
- Start up your Mac
- Hold the D key while it turns on
- Release the key when the progress bar appears, or when you’re asked to select a language
- Wait for the Diagnostics process to complete and present you with a list of problems, if encountered
From here, follow on-screen instructions or contact Apple Support and arrange a Genius Bar appointment to fix the problems. Make note of any reference codes. If you see the ADP000 code — congratulations, no issues have been found on your Mac!
Now you’ve become skilled in fixing any and all MacBook speaker crackling issues. It’s a good time to upgrade your Mac’s sound capabilities with Boom 3D and Elmedia Player, learn to easily transform media using Meta and Permute, and start communicating in comfort through In Your Face and IM+.
Boom 3D, Elmedia Player, Meta, Permute, In Your Face, IM+ and dozens more powerful apps for Mac are available with a Setapp subscription. Sign up for a free 7-day trial to explore them all!